
It’s difficult to write briefly about this version of PocketBible. Here are some of the things we like best about this new version of PocketBible.
Flexible Layout
Resize panes. Split panes horizontally or vertically to add a new book or group of books. No longer are you limited to only one type of book like you were in version 1, and no longer are you limited to only a certain layout like you were in version 2.
Customizable Appearance
Would you prefer the toolbar across the bottom of the screen? Just change it in Settings. Prefer the Study Panel on the right instead of the left? Change that, too, while you’re there.
PocketBible 1 was almost too customizable when it came to fonts, font sizes, and colors. These applied only to specific types of panes, so to change colors across the board, you had to change colors in several places. Same with fonts and sizes. PocketBible 3 makes it straightforward to change font, text size, and color scheme.
And when you change the text size for your books and Bibles, other text in the app gets bigger or smaller right along with it. On top of that, you can zoom or un-zoom the entire app with a single press of Ctrl++ or Ctrl+-.
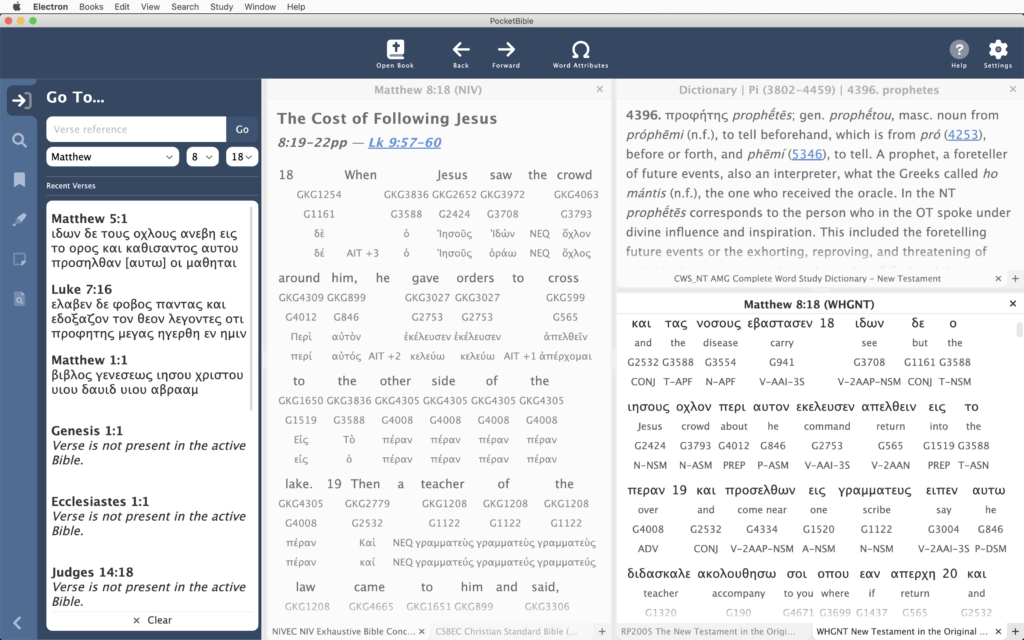
Searches
We’ve ported our newer search algorithm from iOS, Android, and macOS to this Windows version. Now when you search for a word, you’ll also find instances where words that sound like what you’re looking for, and other instances where words have the same or similar root word as the one you’re looking for. Exact matches will be at the top of the results list, of course, but these other searches will be available, too.
Notes

We’ve ported the rich text noted editor, similar to what we use on other platforms, to Windows. If you want something bold, just press Ctrl+B or select the “bold” button. No more trying to remember weird HTML tags to do a simple task.
External Windows

Search results, both of your books and your notes, lists of bookmarks, and lists of highlighted verses can all be exported to an external window. You can save, print, or copy from these windows. When you’re done with them you can close them, or leave them open and they’ll be there the next time you launch PocketBible
Compatibility with All Our Bibles

A few years back we found we had to make changes to our Bible format in order to make it easier to release new translations of the Bible. We were able to update the iOS, Android, and macOS versions of PocketBible, but in a story too sad for this blog, we couldn’t update the Windows versions — until now. The new version of PocketBible works with all our Bibles. Seems like that would have happened sooner. We agree. But it’s here now.
Automatic Sync of User-Created Data
PocketBible 1 for Windows Desktop required you to manually sync your data to our server. PocketBible 2 for Windows Store required you to pay to even use those features. In PocketBible 3, synchronization of your notes, highlights, bookmarks, and devotional reading progress is automatic — or manual if you prefer. You can more easily keep all your devices in sync. And it’s included in the standard feature set.
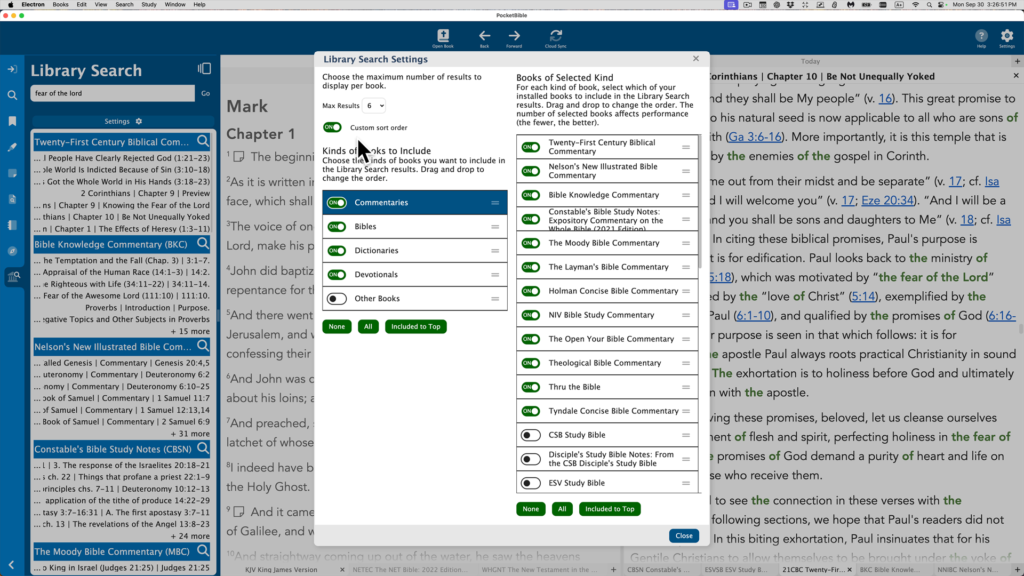
Cloud Library

Originally in PocketBible 1, each book had to be manually downloaded and installed using the Windows installer process. We eventually wrote a Cloud Library app, but it was a stand-alone, separate app that could be hard for some to find and use. PocketBible 2 had an integrated Cloud Library functionality, but it was finicky and to be honest, even when it worked it wouldn’t display the correct download progress percentage. And sometimes it would just start downloading books whether you wanted it to or not. The Cloud Library function in PocketBible 3 is built-in, easy-to-use, and reliable.
More Standardized User Interface
PocketBible 2 for Windows Store was originally designed for Windows Phone. (I bet you didn’t know that.) So it had some behaviors that made sense on a phone but were mystifying on the desktop. For example, right-click caused the toolbars to be displayed — toolbars we all thought should always be visible. To get the menu you normally get when you right-click, you had to press and hold the mouse button. Navigating back and forth by pages required hitting hidden buttons. In PocketBible 3, the toolbar is always at the top of the screen (or the bottom if you prefer), and right-click always displays a context menu as expected.
Rather than read about it, why not download PocketBible 3 for Windows and give it a try? You can install it without removing previous versions — they neither interfere with nor interact with each other.